Dream Chronicles: The Book of Water: General Information
The Dream Chronicles: Book of Water Walkthrough covers the entire game, eight chapters in all, and includes videos of harder puzzles, screenshots for nearly every location, and help finding all 70 dream pieces. In this fifth installment, help Lyra get rid of the spell over her beloved home of Wish and cure her father.
Images© Big Fish Games, PlayFirst, and Kat Games
Overview:
In the fifth installment of the Dream Chronicles series, Lyra
has found her way home to Wish.She arrives to find her father ill, her
mother missing and her beloved home of Wish enveloped in a dark
storm.
Journal: This will give you information and also help guide you through the game. What you need to accomplish is written in read at the bottom of the pages.
Map: You will need this to reach different places on your journey.
Dream Pieces: There are seventy dream pieces in this game. You need to find them to complete Dream Jewels.
Dream Jewels: Fill these with Dream Pieces until completed. Once complete, they cast various spells.
Quest Mark: This gives you written hints.
Magnifying Glass: This shows you where something is.
Chapter 1: Wish
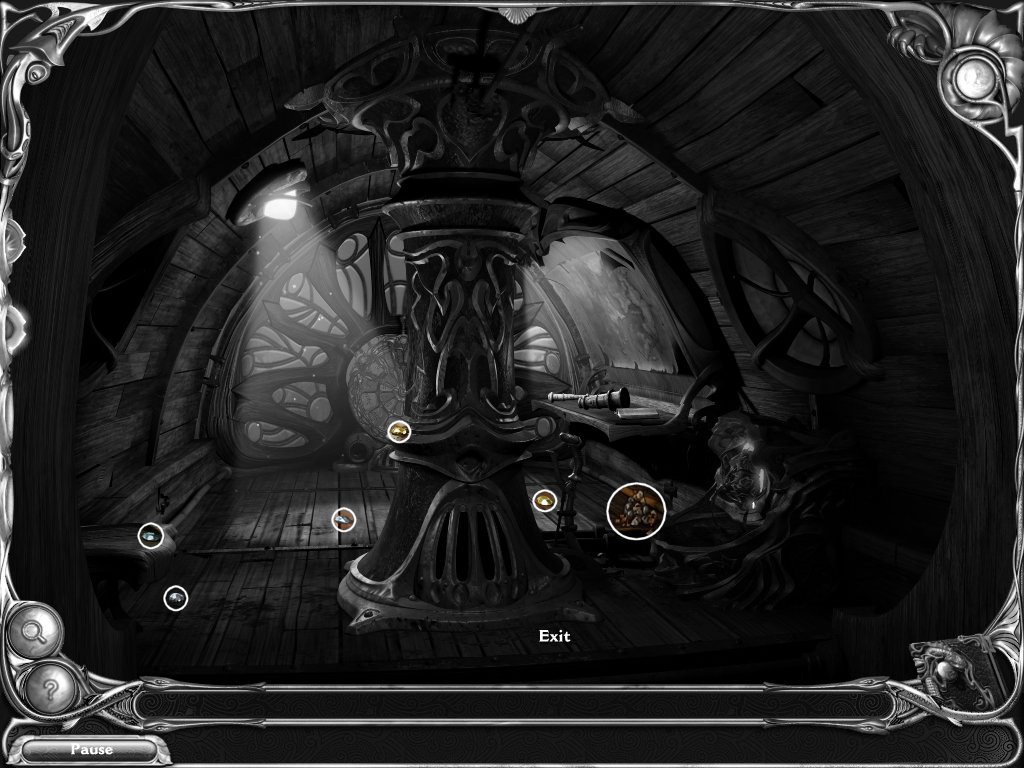
Airship
Wish Gates
Main Street
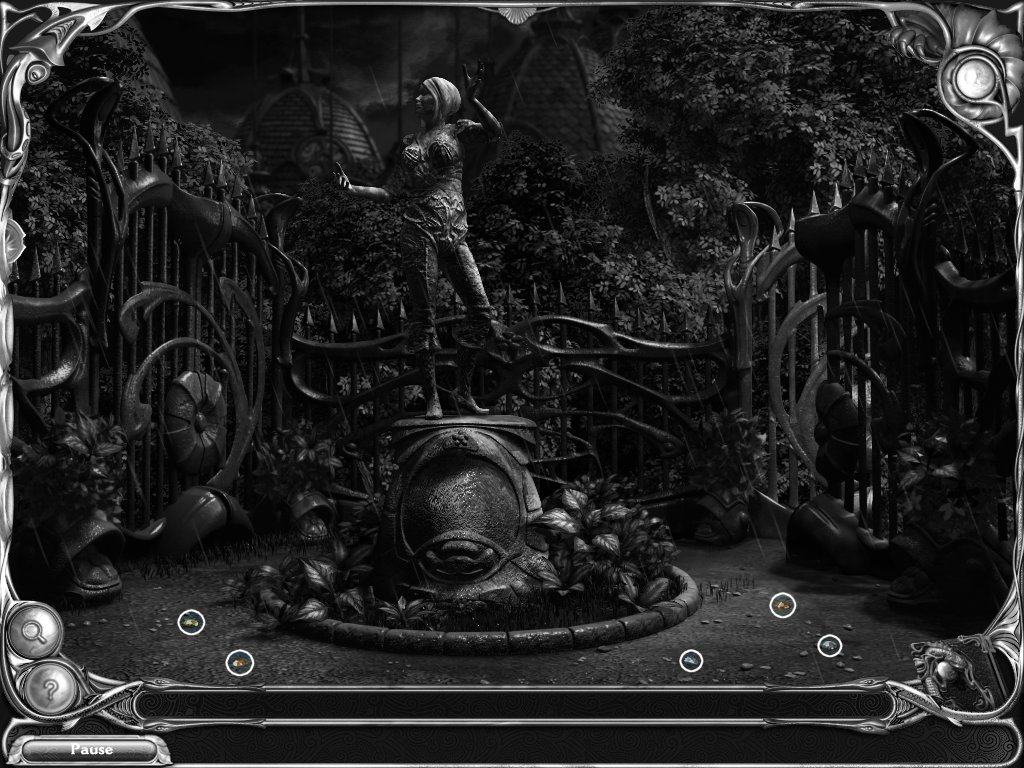
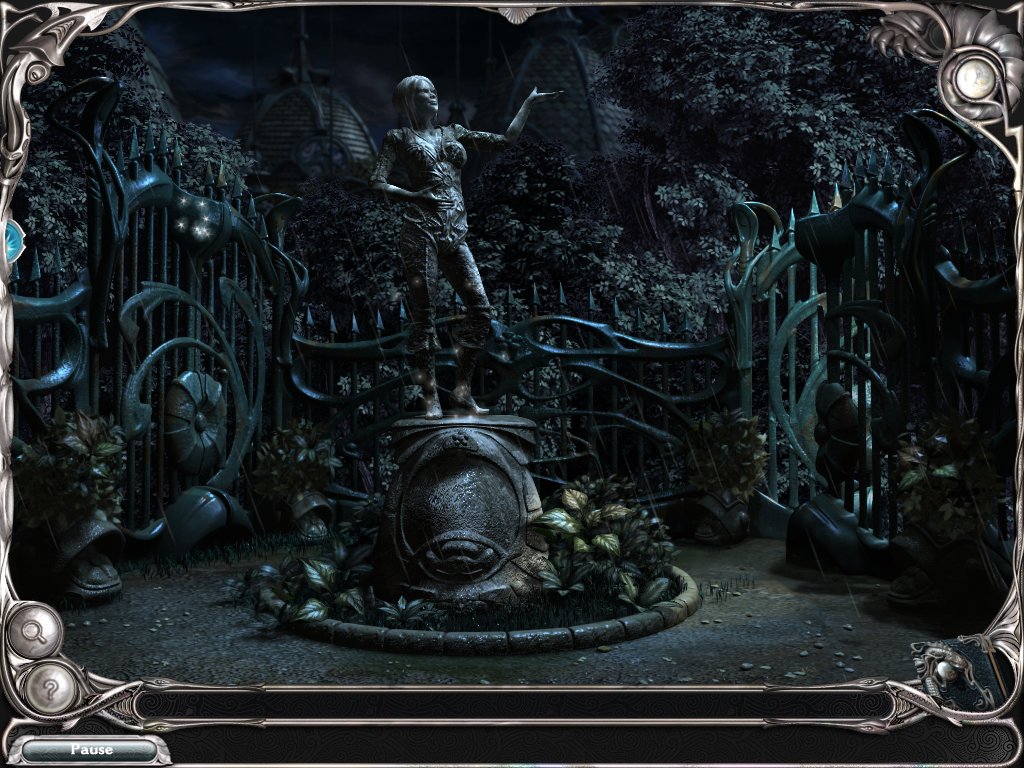
Statue of Lilith
Main Street
Statue of Lilith
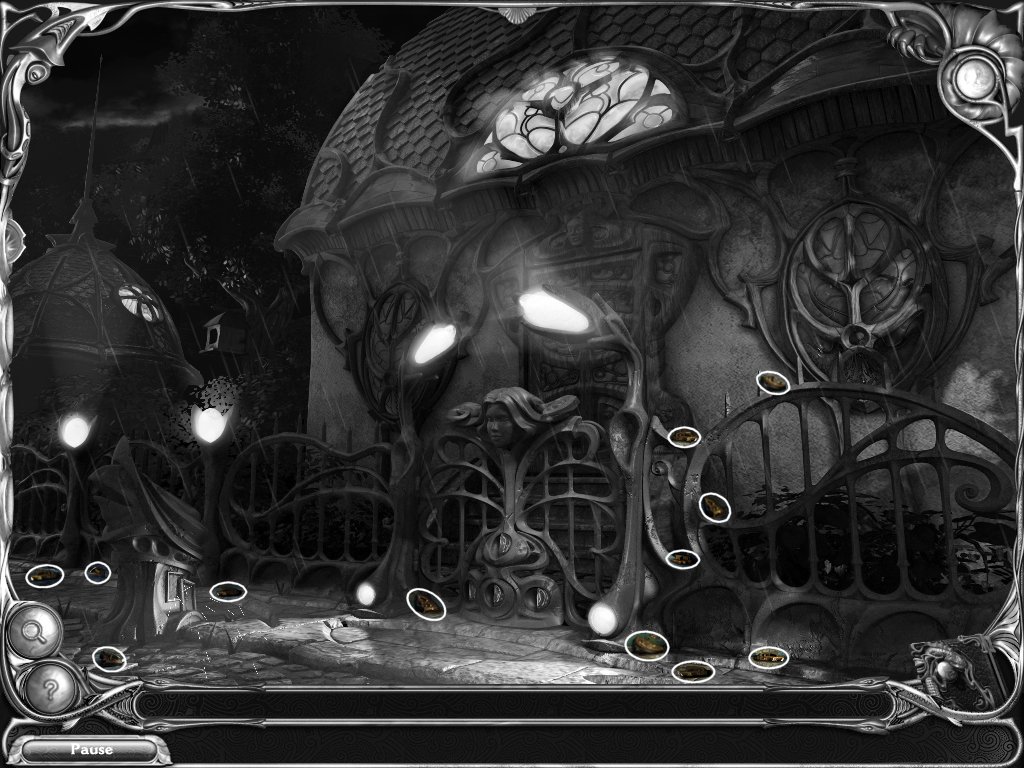
Outside Lyra's House
Living Room
Wish Gates
Airship
Chapter 2: Herbalist
Outside Herbalist
Kitchen
Airship
Barge City
Port Office
Barge City
Port Office
Tackle Shop
The Obelisk
Outside Hangar
Outside Hangar
Clockmaker's House
Airship
Herbalist
Kitchen
Airship
Crater
Crater
Cave - Fairy
Crater
Crater
Cave - Dolphin
Crater
Cave - Unicorn
Crater
Cave - Mermaid
Airship
Statue of Lilith
Journal: This will give you information and also help guide you through the game. What you need to accomplish is written in read at the bottom of the pages.
Map: You will need this to reach different places on your journey.
Dream Pieces: There are seventy dream pieces in this game. You need to find them to complete Dream Jewels.
Dream Jewels: Fill these with Dream Pieces until completed. Once complete, they cast various spells.
- Illuminate - lights up dark places.
- Weld - fixes broken items.
- Reveals - shows secrets.
Quest Mark: This gives you written hints.
Magnifying Glass: This shows you where something is.
Chapter 1: Wish
Airship
- pick up the Water Bottle
- use the Water Bottle on the fire

Wish Gates
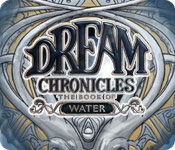
- read the Note
- pick up five pieces of Carved Stone
- examine the wall
- Carved Stone Puzzle
- place the Carved Stones on the pillars in front of the gate
- they need to match the inscription in the wall
- see screenshot for solution
- enter the gates
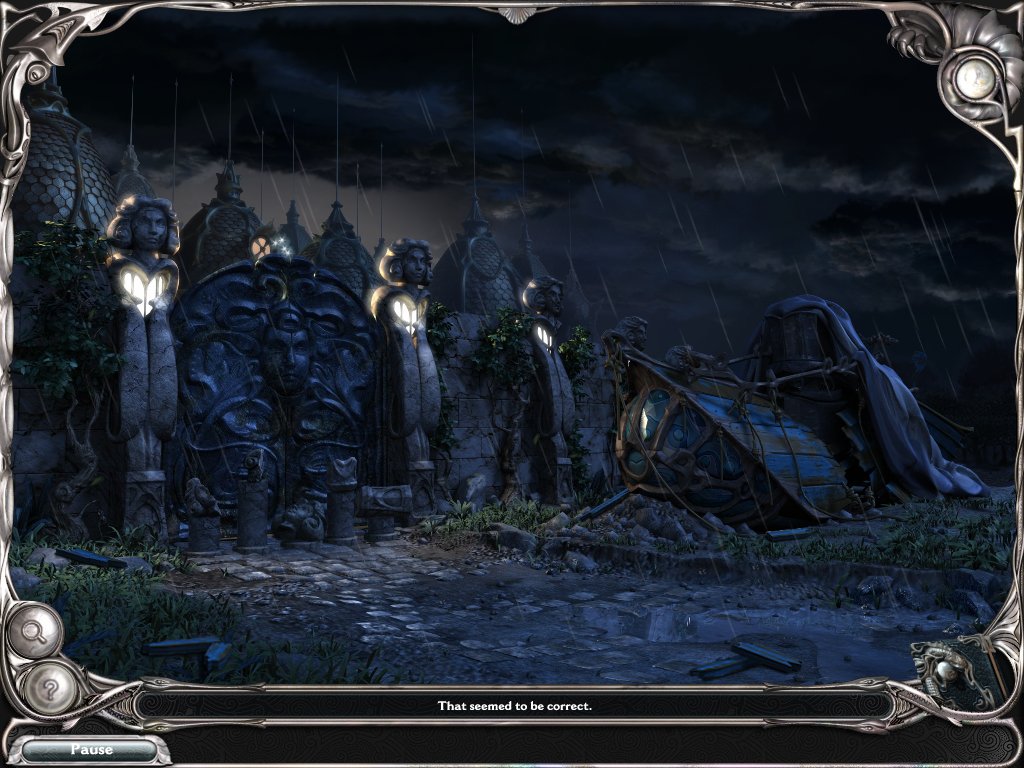
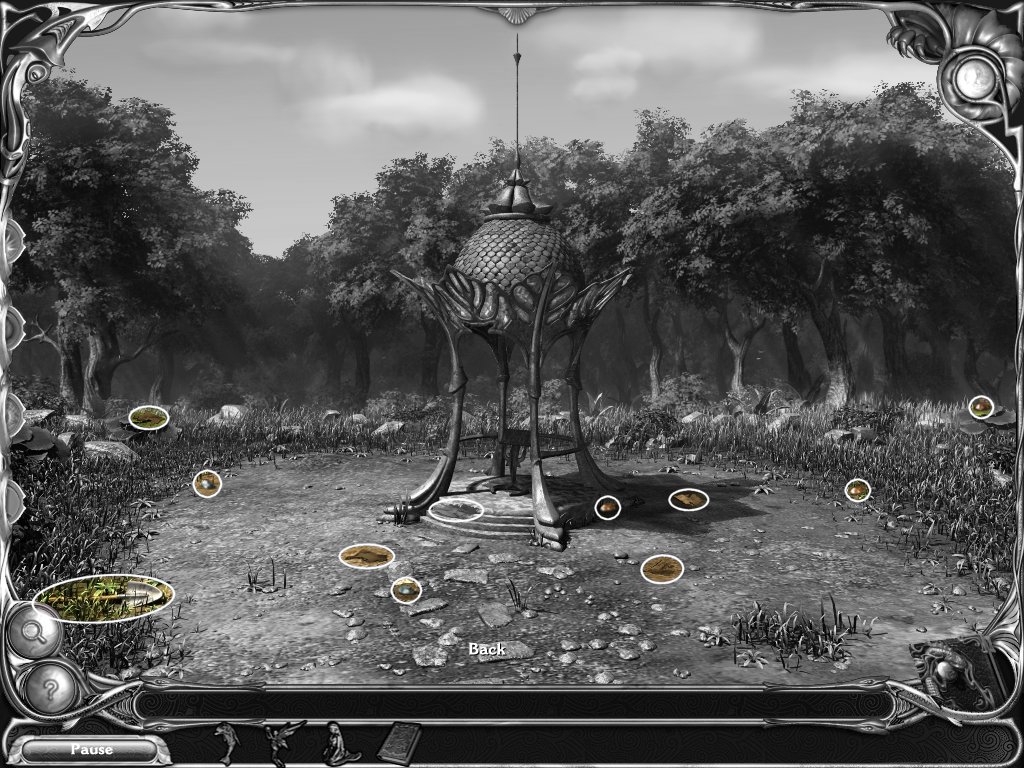
Main Street
- pick up the Dream Jewel of Illumination
- pick up five Dream Pieces
- continue left
Statue of Lilith
- use the Dream Jewel of Illumination
- pick up the five Dream Pieces
- return to Main Street
Main Street
- Toy Shop Puzzle
- click the right or left soldier
- you must click them in the right order
- if you are correct - it will make a "ding"
- if you are incorrect - it will make a different sound
- solution (highlight to see): left, right, right, left, right
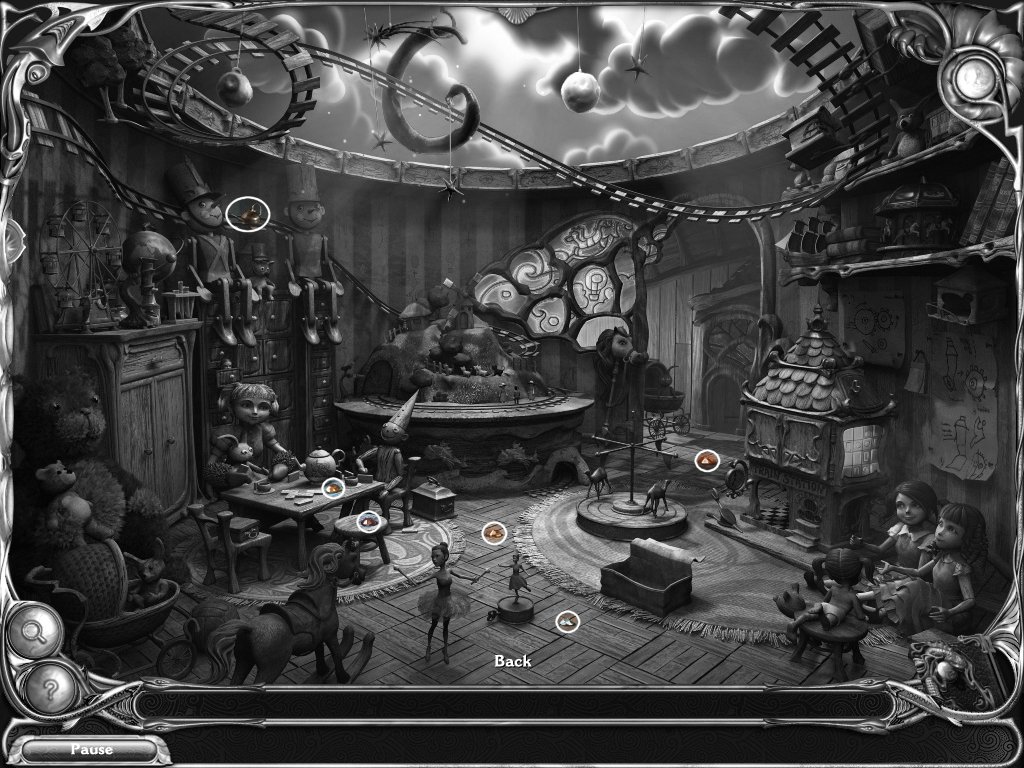
- enter the Toy Shop
- pick up the five Dream Pieces
- pick up the Oil Can
- return to the Statue of Lilith
Statue of Lilith
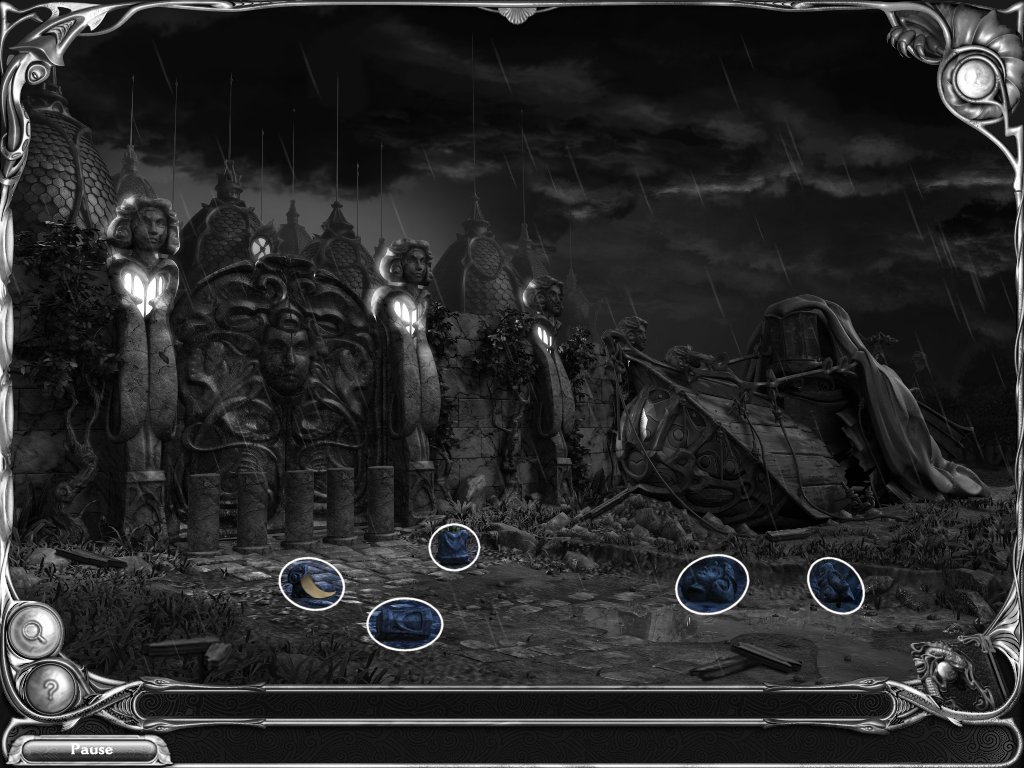
- use the Oil Can on the statue
- Statue Puzzle
- examine the position of the original statue (founder of Wish) in your journal
- reposition the statue of Lilith the same way
- see screenshot for solution
- go left through the open gate
Outside Lyra's House
- use the Dream Jewel of Illumination
- pick up the Hammer
- use the Hammer on the electric pole
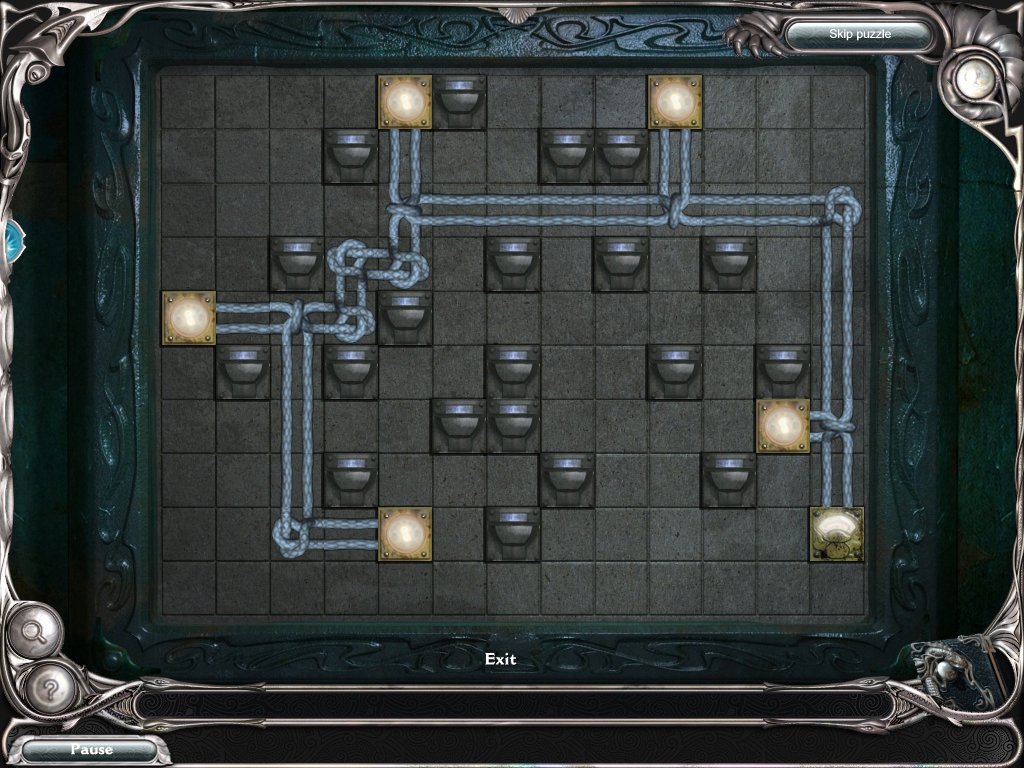
- Electric Box Puzzle
- drag the tiles so they connect the five nodes
- see screenshot for solution
- examine the gate
- pick up the twelve Tiles
- examine the gate
- Gate Puzzle
- replace the Tiles
- see screenshot for solution
- enter Lyra's House
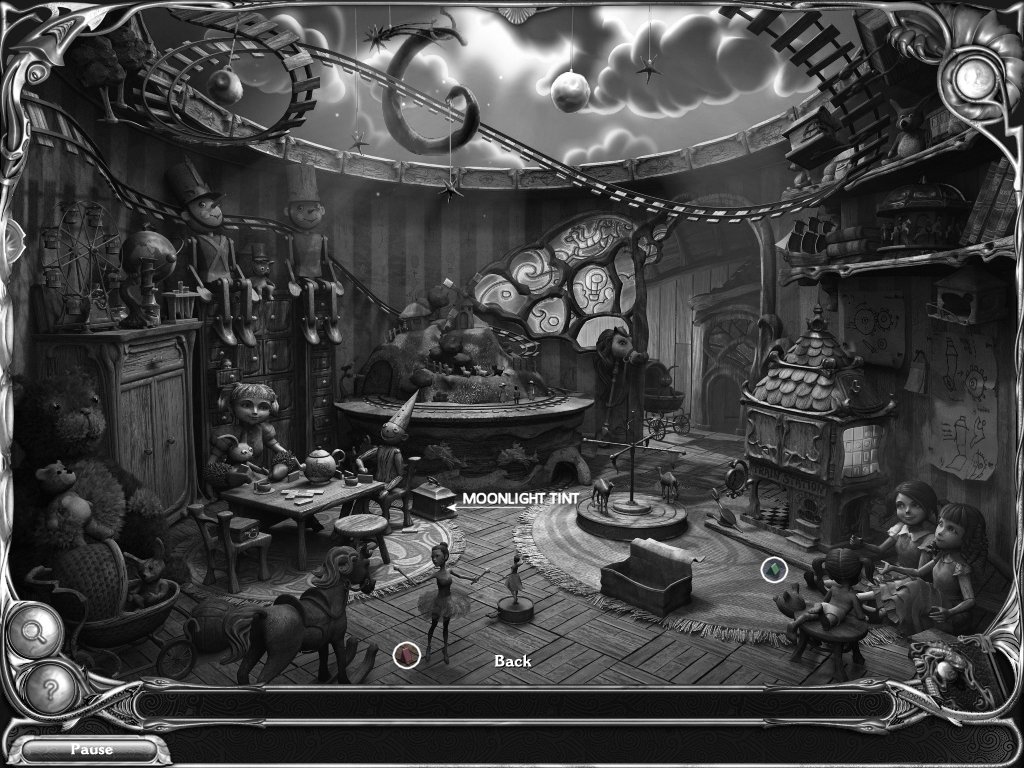
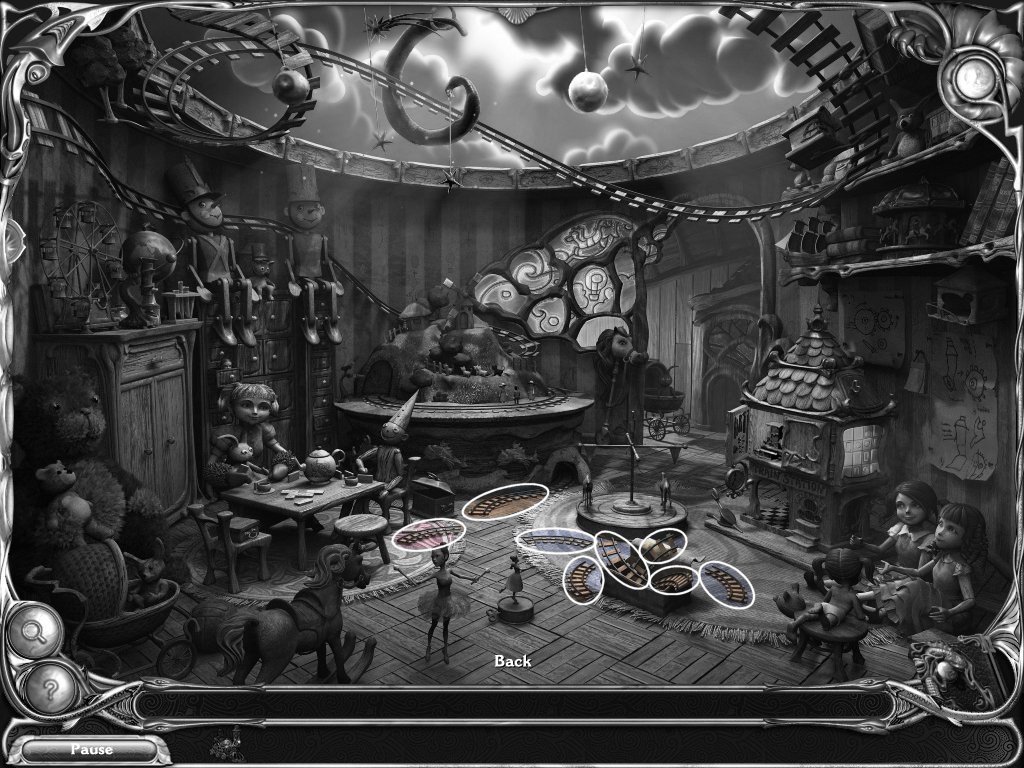
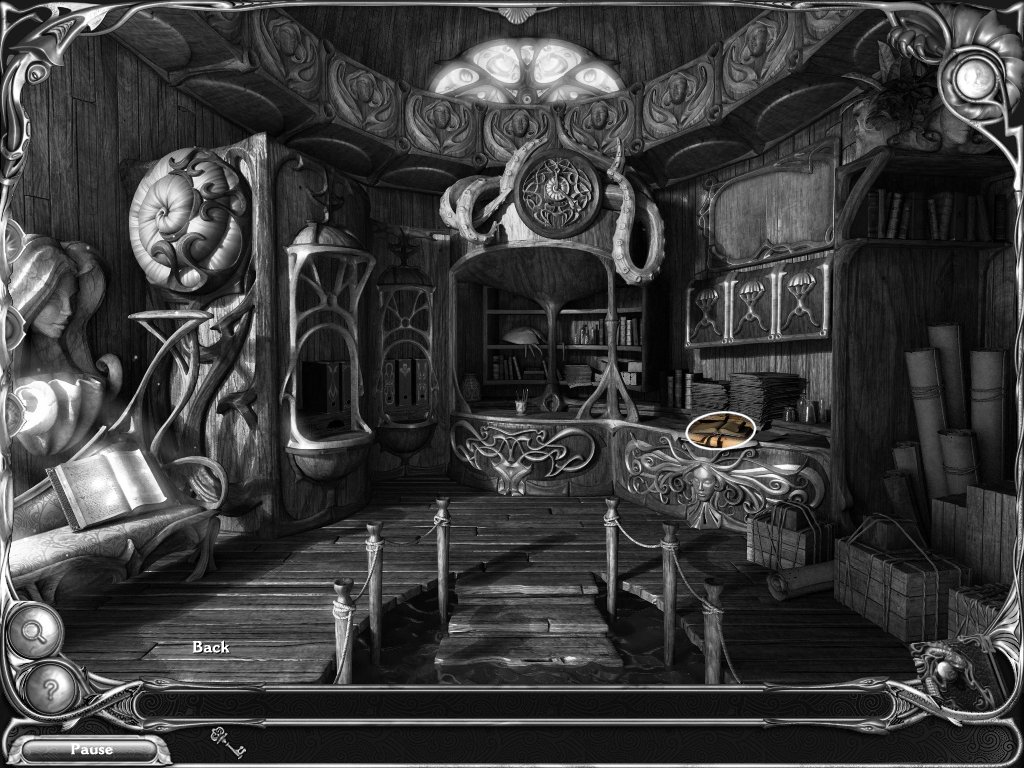
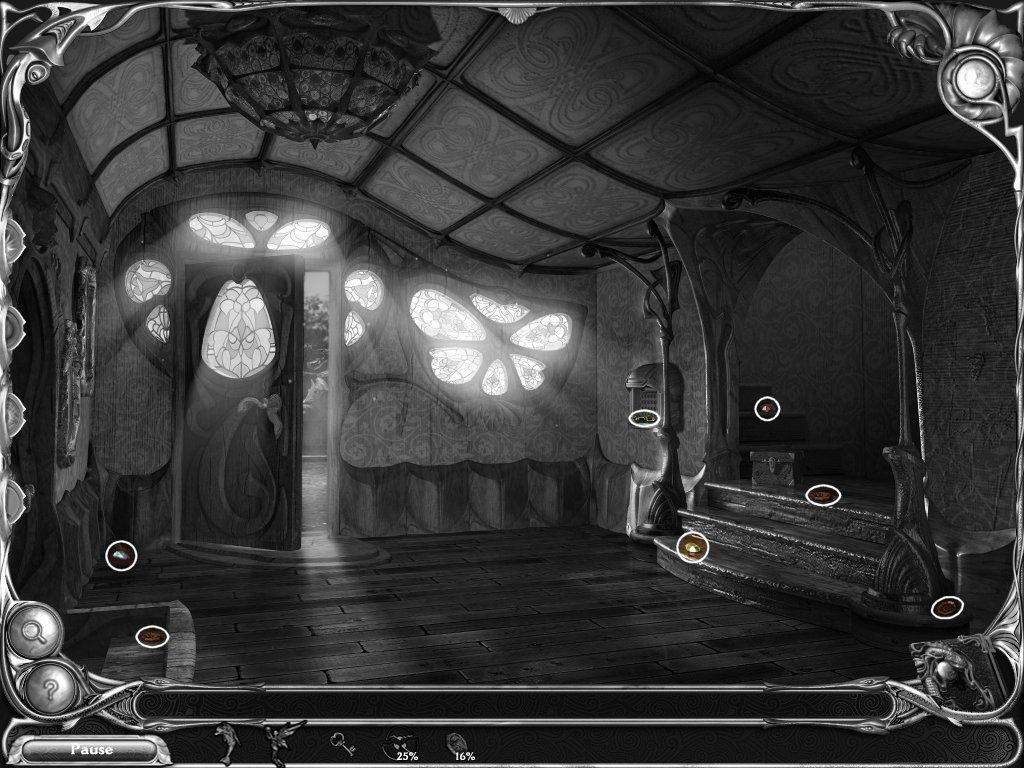
Living Room
- use the Dream Jewel of Illumination
- read the Note
- return to the Toy Shop
- pick up the Triangular Keys
- place the Triangular Keys in the cabinet
- look inside
- decipher the note (you have to do this on your own)
- click on the box at the base of the train set
- get Moonlight Tint
- look inside the cabinet again
- use the Moonlight Tint on the pages
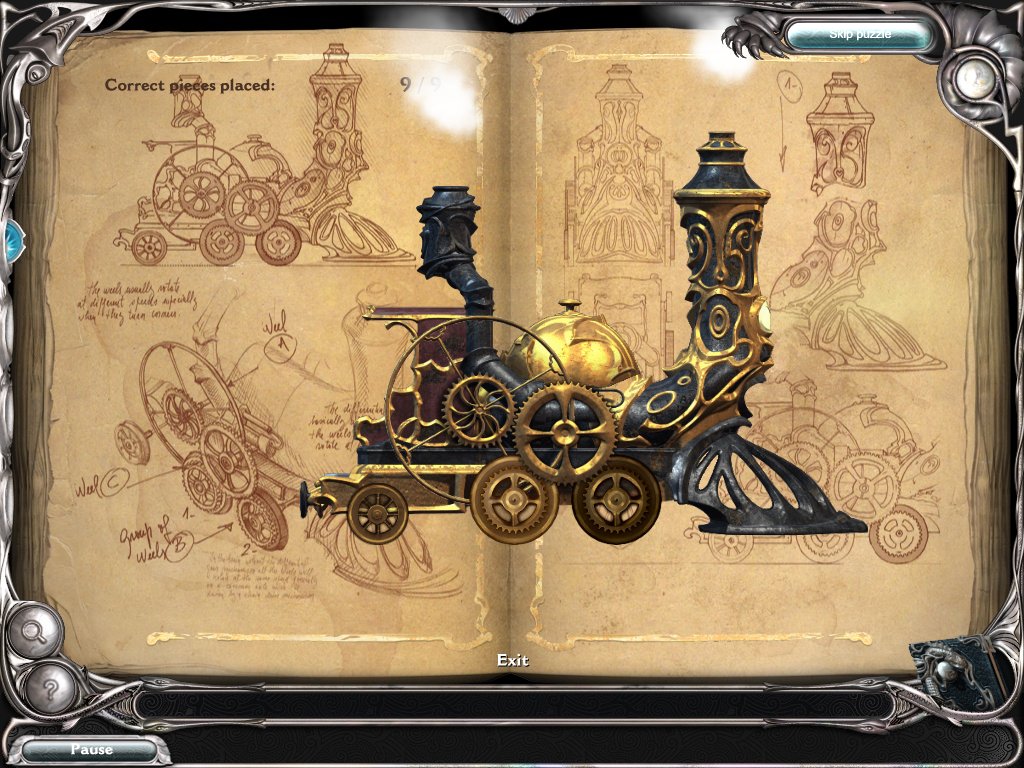
- find the nine Engine Pieces
- look inside the cabinet again
- Train Engine Puzzle
- place the Engine Pieces on the book
- reassemble the train in the correct order
- if the piece turns silver then something goes behind it
- see video or screenshot for solution
- examine the train set
- find the eight Train Tracks
- Train Set Puzzle
- read the instructions (under the letter "N")
- place the Train Engine on the track
- replace the Train Tracks
- letters will appear in the top bar on the left
- switch track positions (by clicking on the track) the train will follow the letters
- click start
- see video for solution
- take the Dream Jewel of Weld
- return to the Wish Gates

Wish Gates
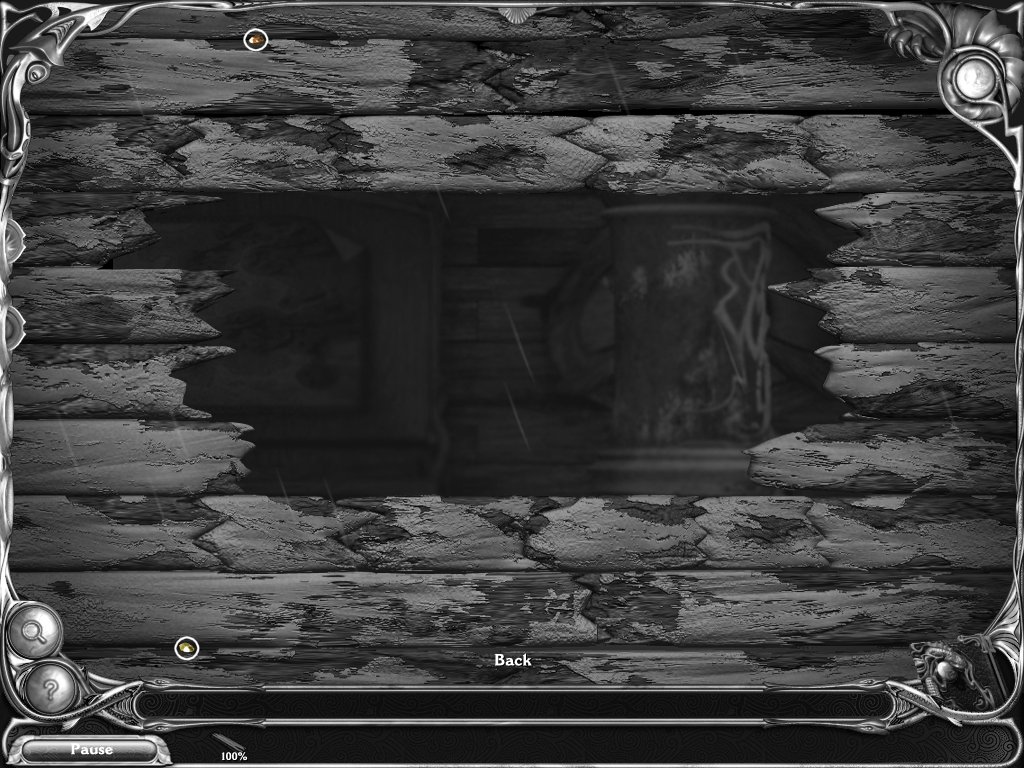
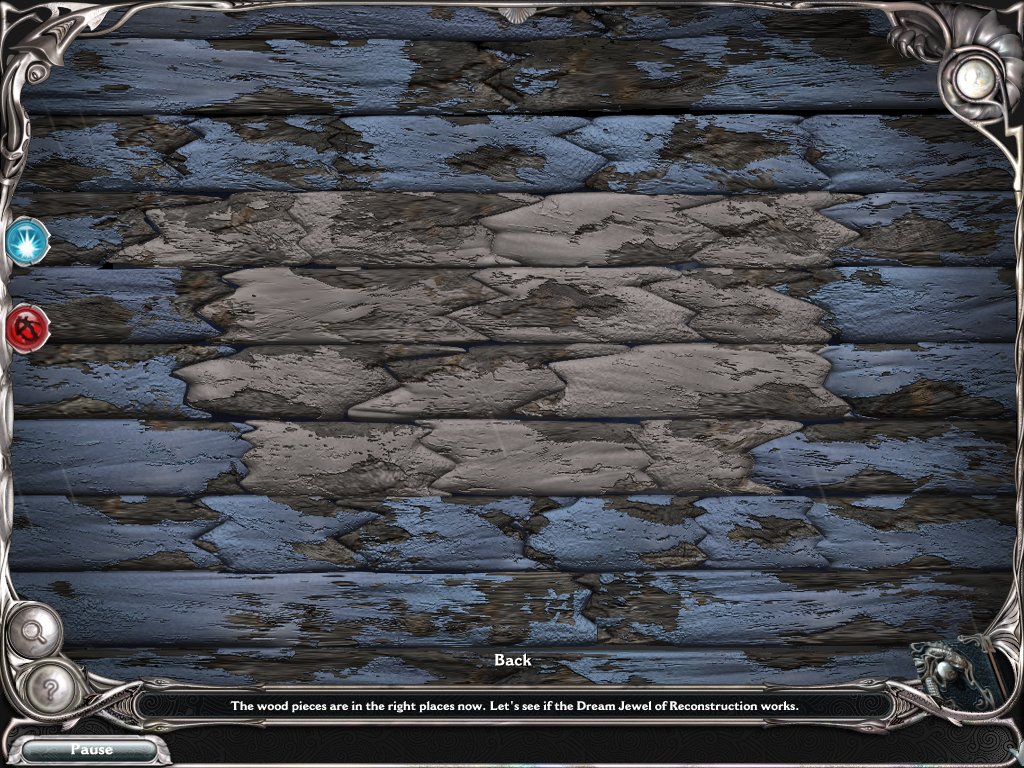
- pick up the five pieces of Wood Boards
- examine the side of the airship
- Airship Puzzle
- pick up the two Dream Pieces
- replace the Wood Boards
- rearrange them so they fit together
- see screenshot for solution
- use the Dream Jewel of Weld
Airship
- pick up the five Dream Pieces
- pick up the Fuel Stones
- use the Dream Jewel of Weld
- place the Fuel Stones in the fuel machine
- look at the map
- go the Herbalist
Chapter 2: Herbalist
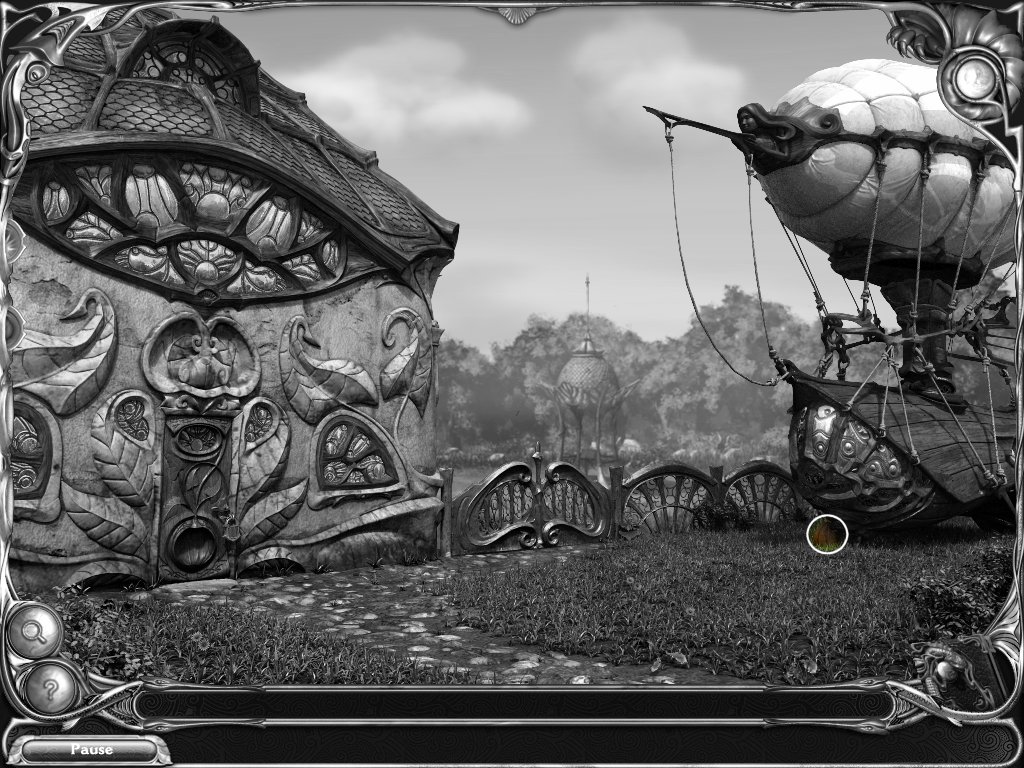
Outside Herbalist
- pick up the Pumpkin
- place the Pumpkin in the door
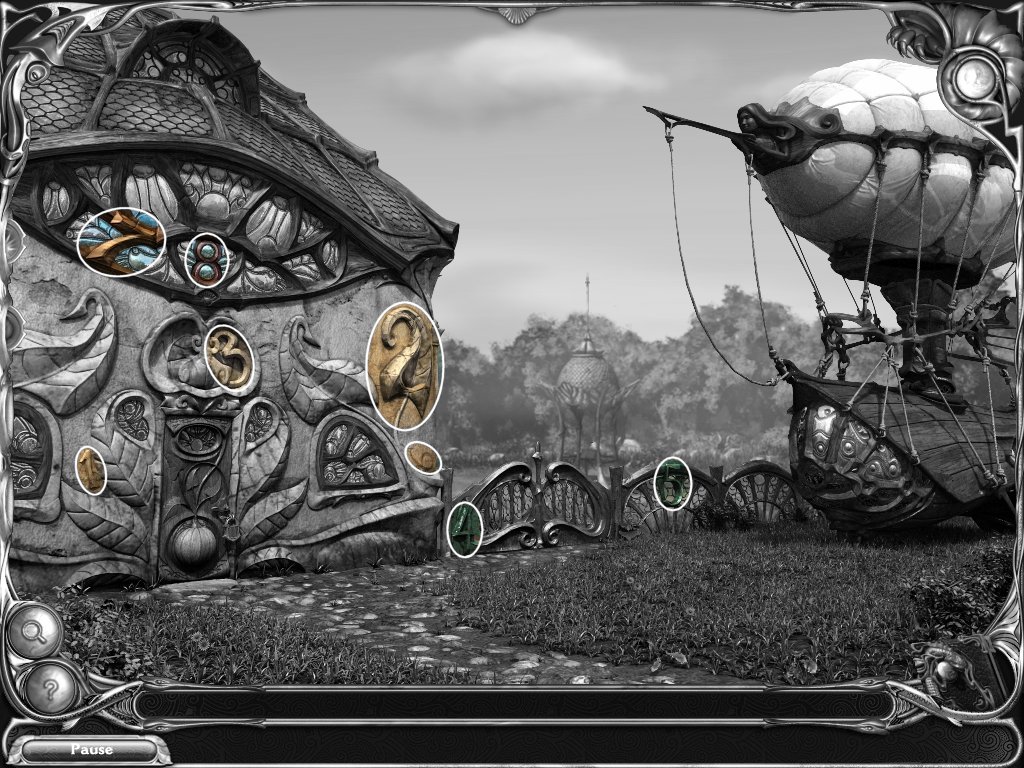
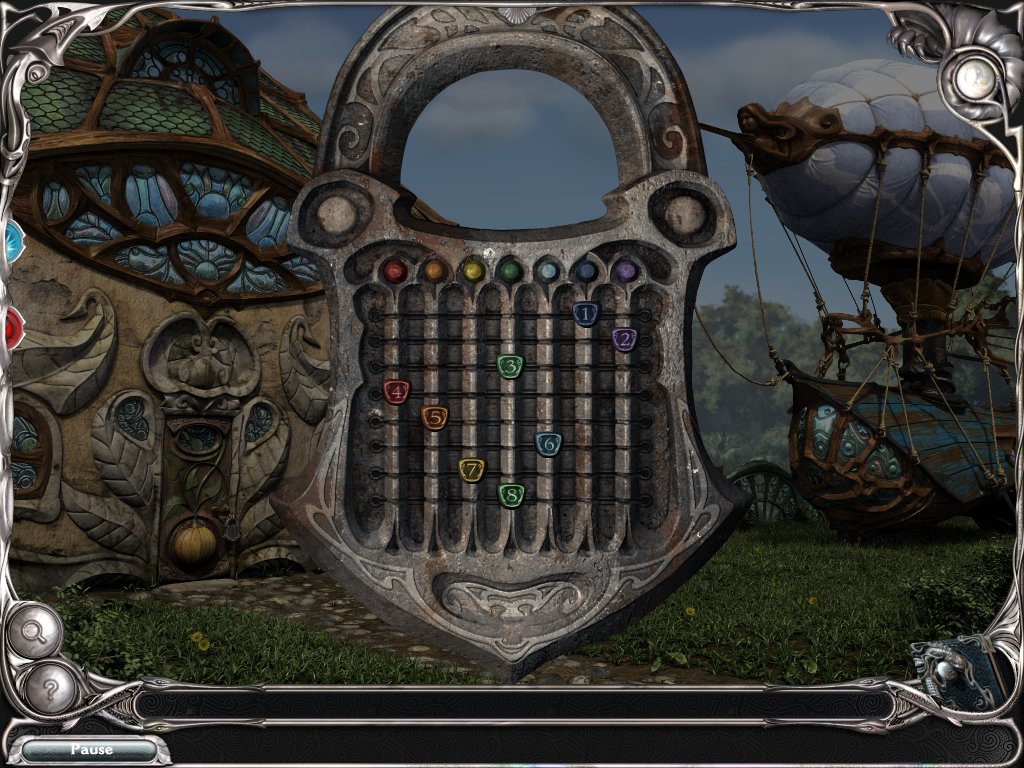
- examine the lock
- find the eight Numbers
- examine the lock
- Lock Puzzle
- replace the Numbers
- slide the number under the matching bead
- see screenshot for solution
- enter the Herbalist and go to the Kitchen
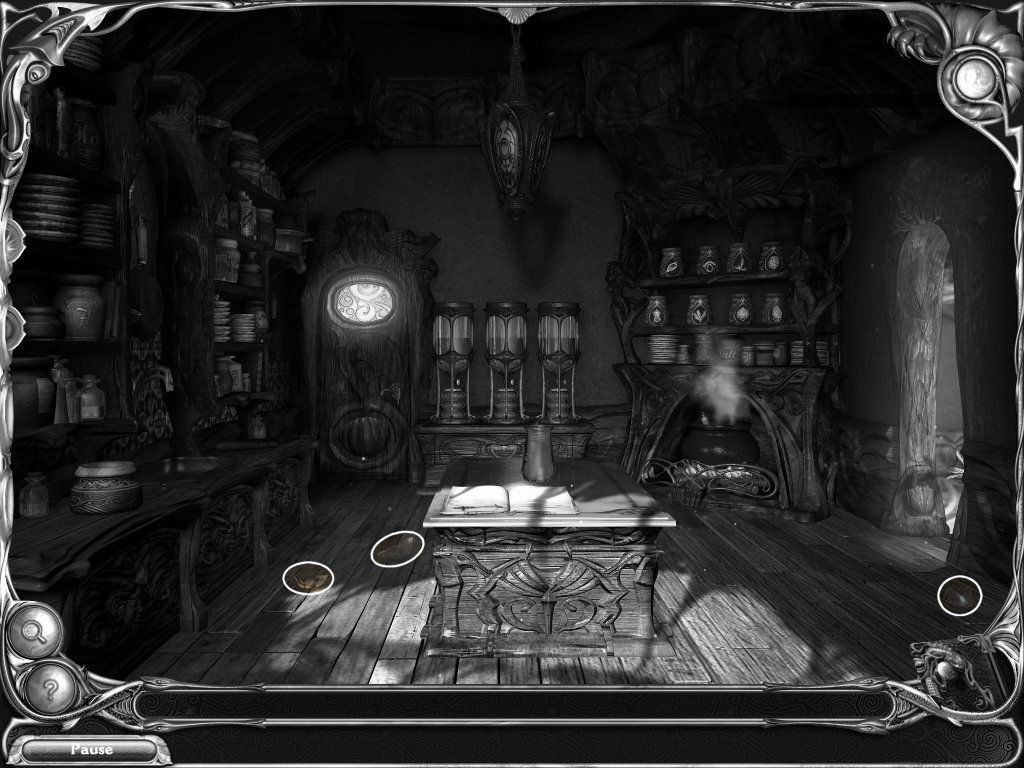
Kitchen
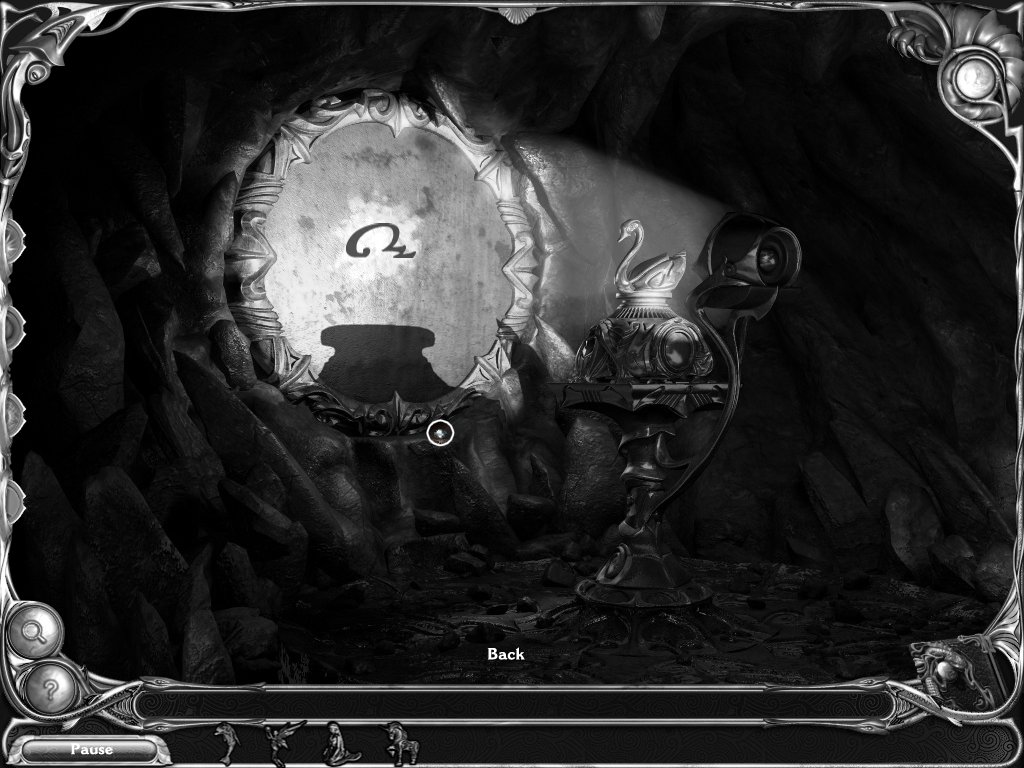
- read the Spell Book on the table
- touch the Glass Container
- pick up all three Glass Shards
- use the Dream Jewel of Weld
- use the Glass Container on the healing potion
- return to the Airship
Airship
- look at the map
- go to Wish
- return to Lyra's House and enter
- give the Healing Potion to Lyra's father
- return to the Airship
- look at the map
- go to Barge City
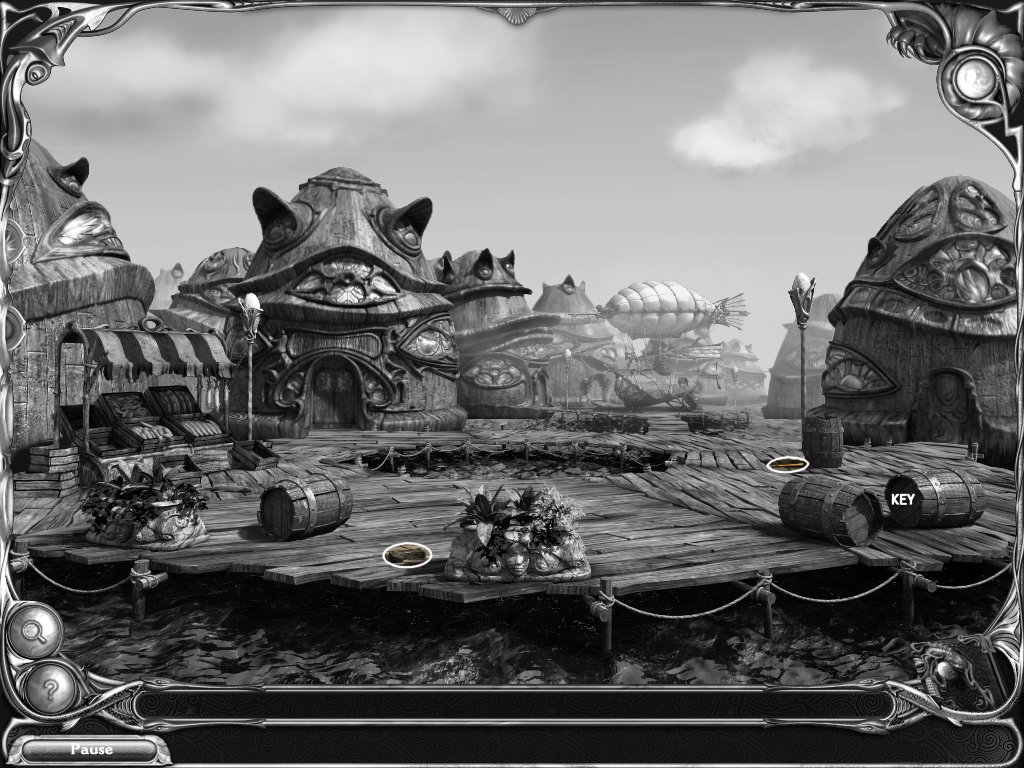
Barge City
- pick up two Hammer Pieces
- use the Dream Jewel of Weld
- use the Hammer on each of the barrels
- take the Key
- use the Key to enter the orange building
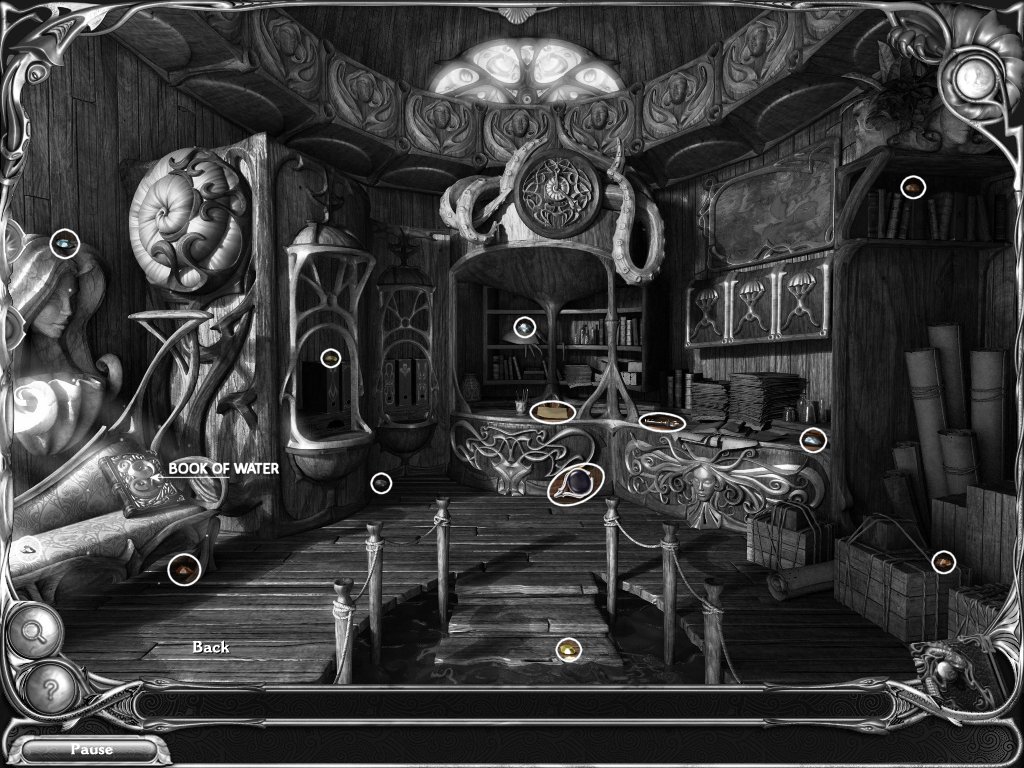
Port Office
- pick up the ten Dream Pieces
- pick up the Dream Jewel of Reveal
- read the Note
- pick up the Key
- look at the Map
- open the Book of Water on the chair
- Book of Water Puzzle
- use the Dream Jewel of Reveal
- click the "check" button
- decipher the message lock
- click on a box and select a letter
- solution (highlight to see): You Must Stop Them
- exit
Barge City
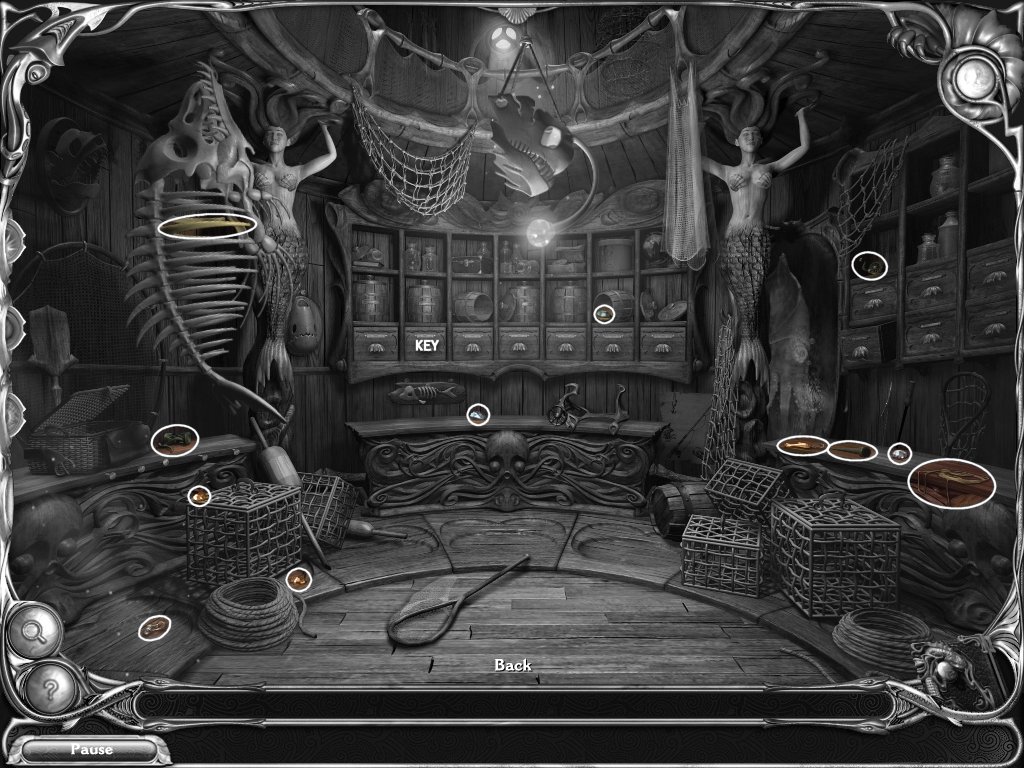
- use the Key to enter the red building
- pick up the five Dream Pieces
- break off a Rib from the fish
- get the Key from the drawer (second from left)
- pick up the Ring
- pick up the Grip
- pick up Hook
- pick up Chisel
- pick up Fishing Line
- pick up Reel
- examine the clamp
- Fishing Rod Puzzle
- examine the directions on the wall
- assemble the fishing pole
- solution (highlight to see): Rib, Chisel, Grip, Rings, Reel, Fishing Line, and Hook
- see video for solution
- return to the Port Office
Port Office
- read the Book of Colors on the desk
- read how to make a magic fishing pole
- take the Color Sample
- exit
- use the Key to enter the green building
- pick up the five Dream Pieces
- pick up the Dream Jewel of Vision
- read the Note
- pick up the Brush
- examine the table
- Paint Puzzle
- use the Brush to mix the colors
- solution (highlight to see): yellow, red, blue, red, black, blue, white
- see video for solution
- return to the Tackle Shop
Tackle Shop
- examine the Fishing Rod
- use the Paint on the Bait
- exit
- use the Fishing Rod in the water in the center of the dock
- return to the Airship
- look at the map
- go to The Obelisk
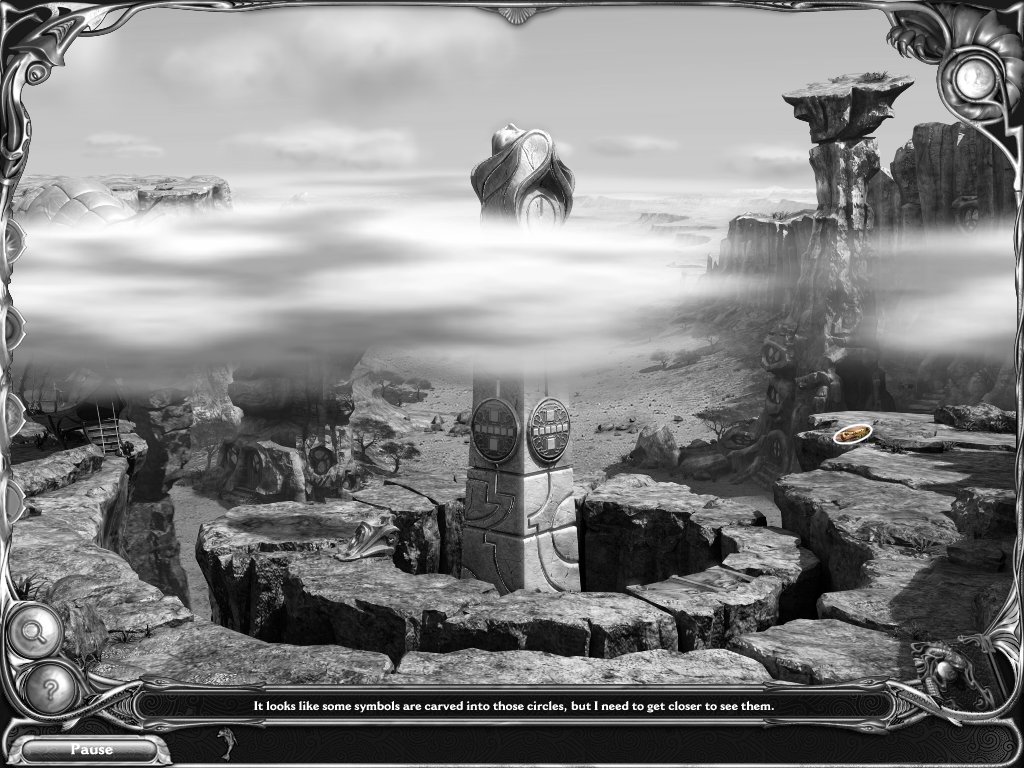
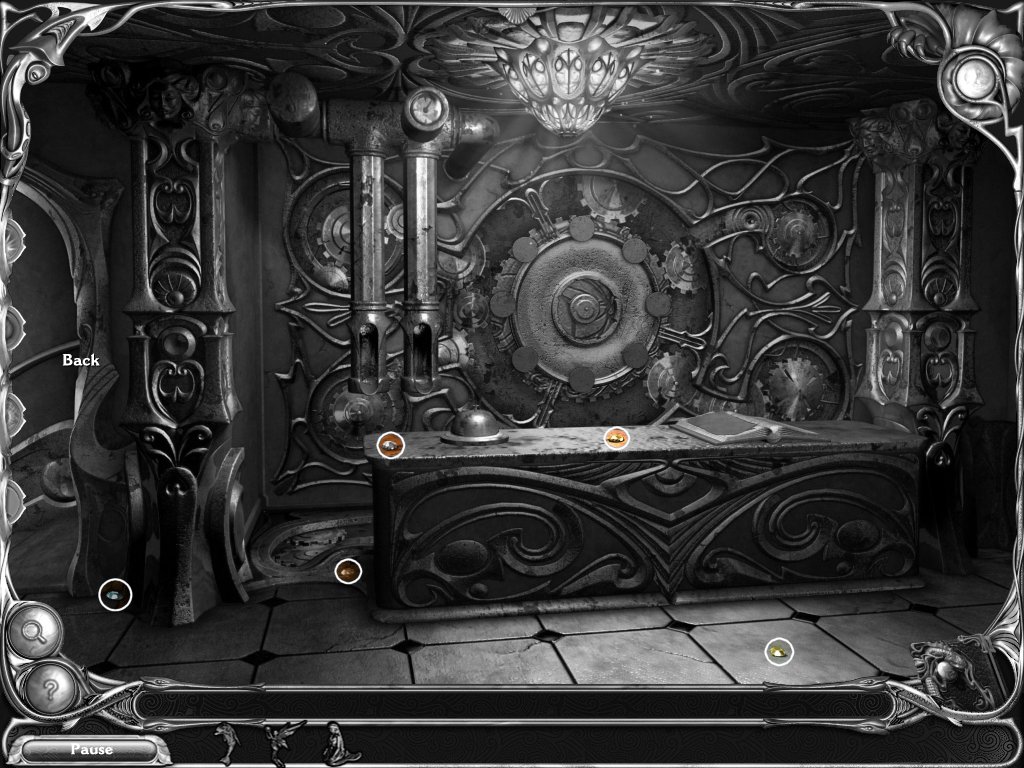
The Obelisk
- use the Dream Jewel of Vision
- pick up the Metallic Object to the right
- use the Metallic Object on the mechanism
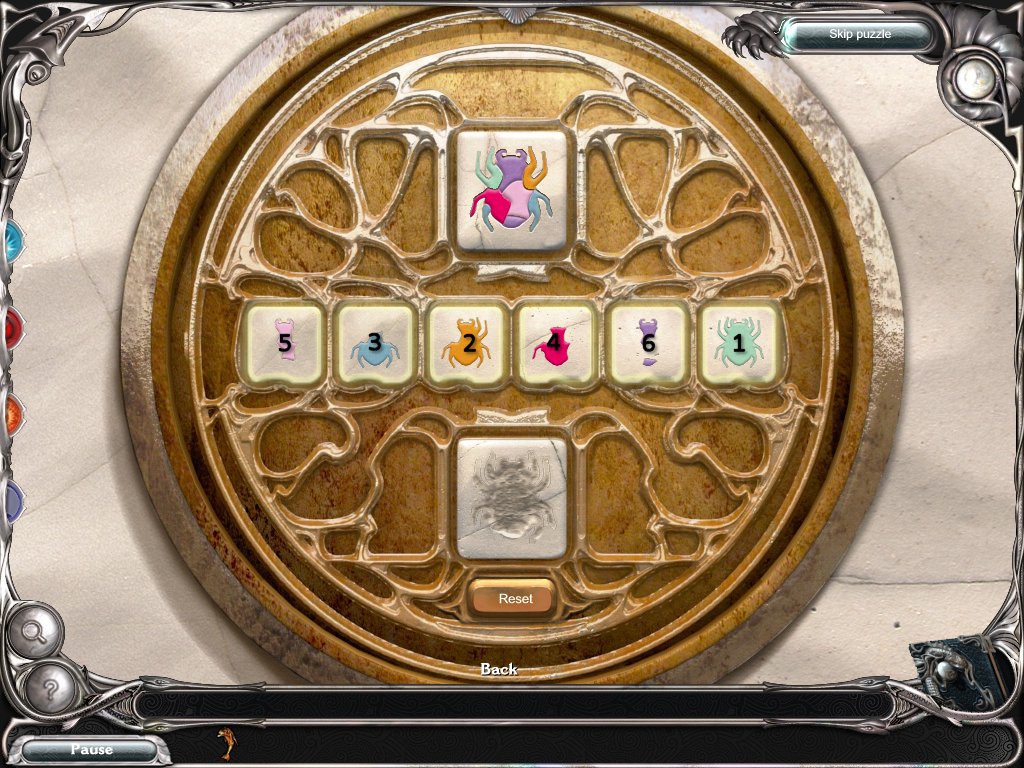
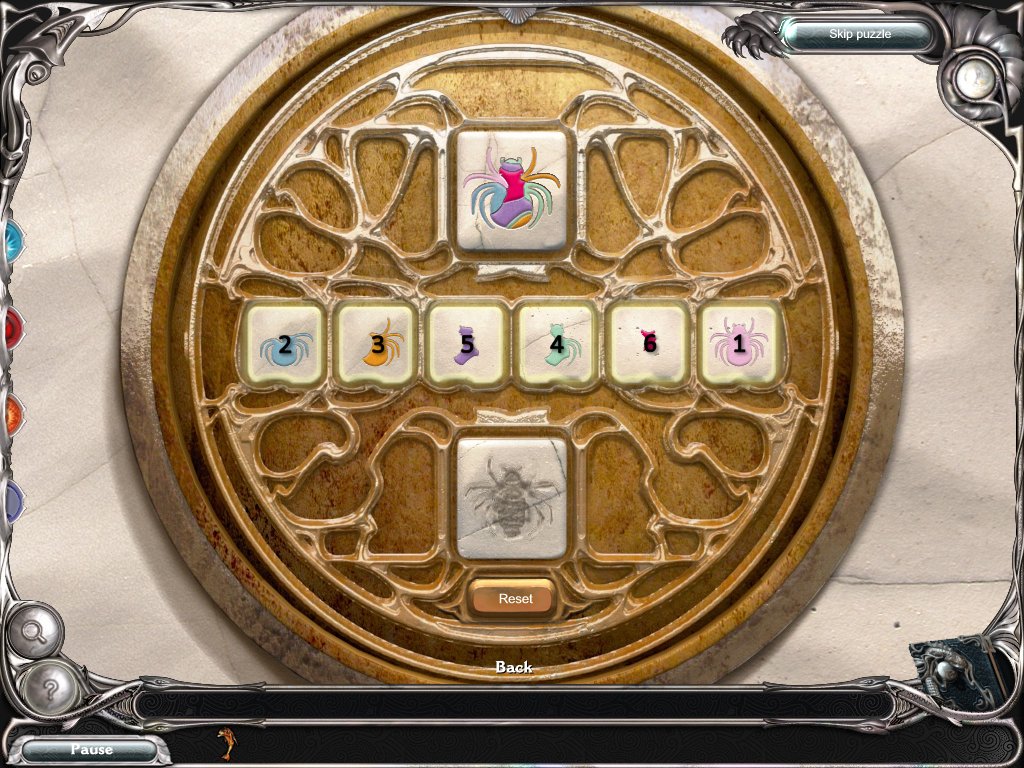
- examine the Obelisk
- Obelisk Puzzle
- press the images in the correct order to create the image at top
- see screenshot for solutions
- continue to examine Obelisk - there are four puzzles
- take the Pixie Figurine
- enter the Airship

- look at the map
- go to Merrow
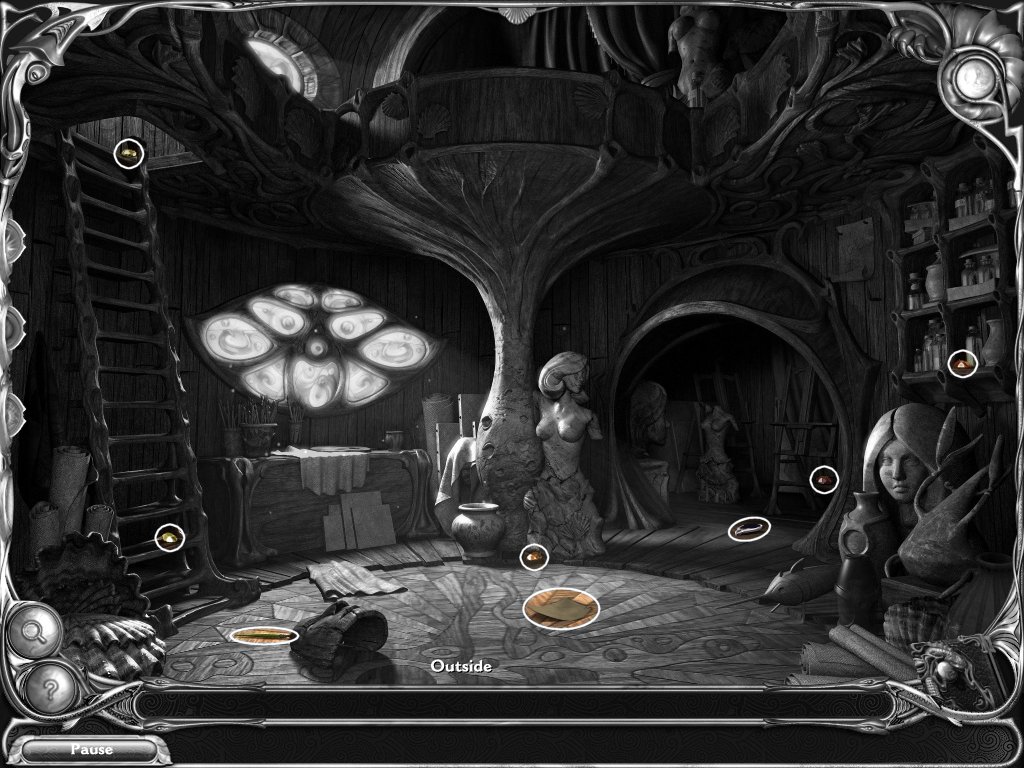
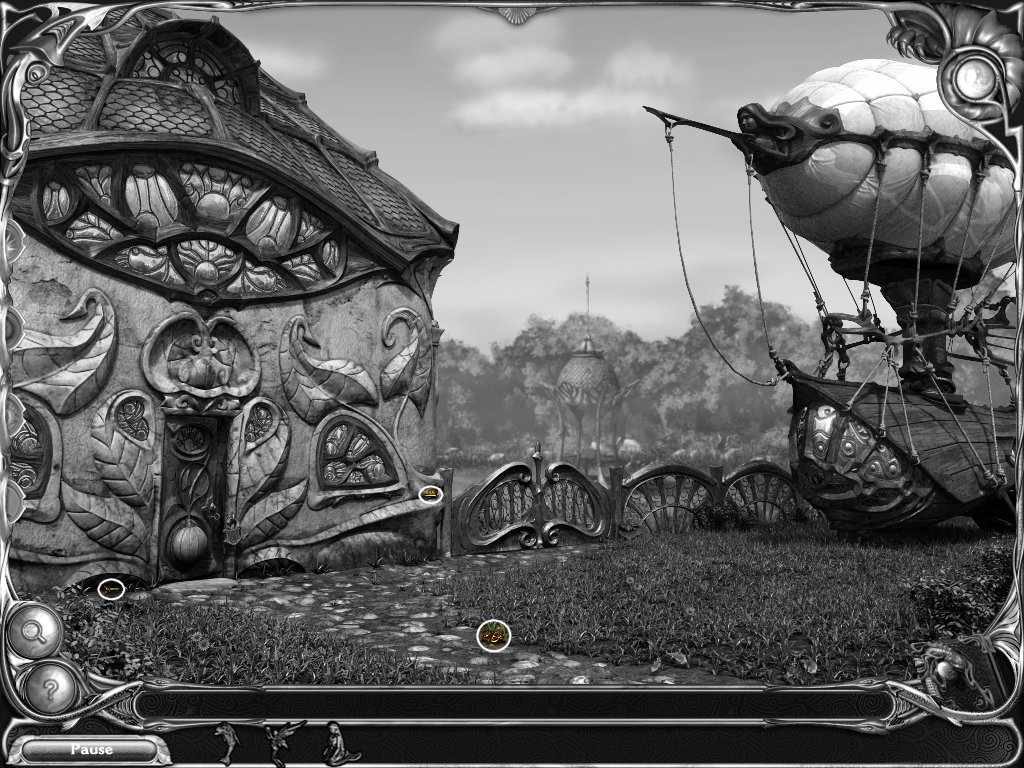
Outside Hangar
- pick up the five Dream Pieces
- pick up the Key
- read the Note on the door
- enter the Hangar
- pick up the three Dream Pieces
- pick up the three Metallic Objects
- pick up the Key
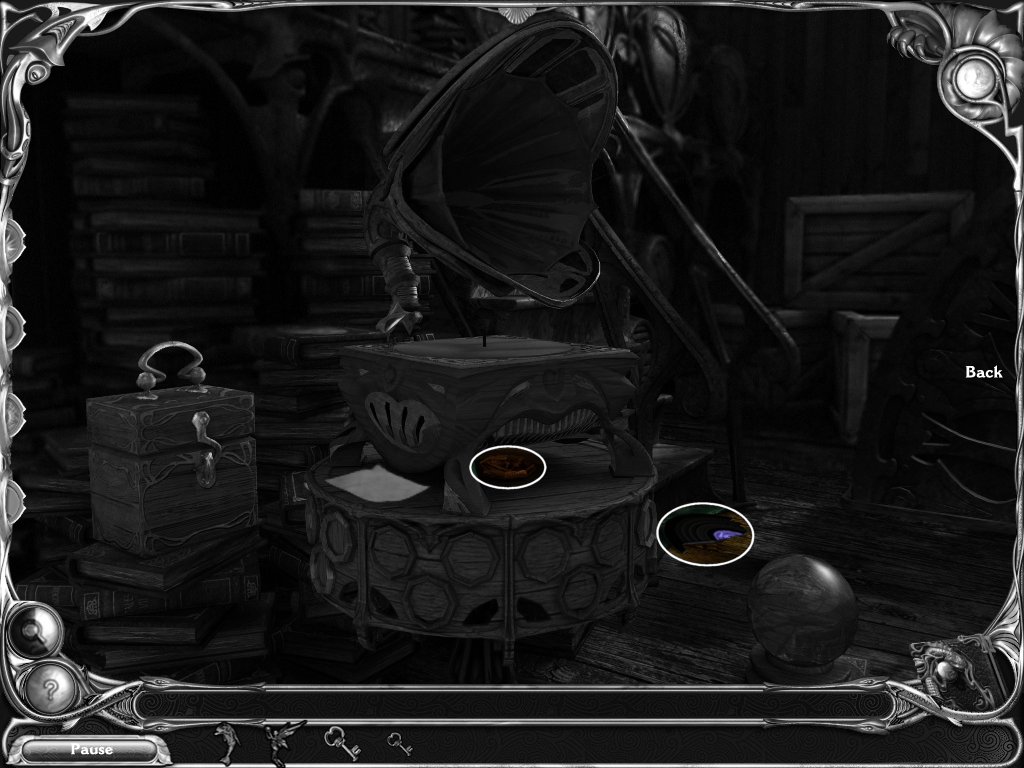
- place the Gramophone (Metallic Objects) on the table
- examine the gramophone
- read the Note
- pick up the Disc Piece
- pick up the Wood Tile
- exit the Hangar
Outside Hangar
- use the larger Key on the house
- enter the house
- pick up the three Dream Pieces
- pick up the three Wood Tiles
- use the remaining Key on the box
- take the Wood Tile
- pick up the Key
- return to the Hangar
- use the Key on the locked box by the wheel
- take the Wood Tile
- examine the gramophone
- examine the stack of books on the left
- Book Puzzle
- find the three Disc Pieces
- use the Dream Jewel of Weld
- place the Record on the gramophone
- Gramophone Puzzle
- place the Wood Tiles on the Gramophone
- play the Record
- listen to the sound it plays - turn your speakers up!
- click the Wood Tile that matches the sound
- if you make a mistake you have to start over
- solutions are random for every player
- take the Mermaid Figurine
- return to the Airship
- look at the map
- go to Clockmaker
Clockmaker's House
- use the Dream Jewel of Vision
- enter the house
- pick up the five Dream Pieces
- read the Book
- ring the bell
- talk to the Clockmaker
- return to the Airship
Airship
- look at the map
- go to Herbalist
Herbalist
- pick up the three Key Pieces
- use Dream Jewel of Weld
- go into the Kitchen
Kitchen
- take the Book
- go back outside
- use Key on gate
- enter Field
- pick up the five Dream Pieces
- pick up the Shovel
- use the Shovel to dig holes all over until you find the Chest
- place the Book in the pergola
- read the Book
- pick up the five Pieces of Paper
- read the Book
- place the Page in the book
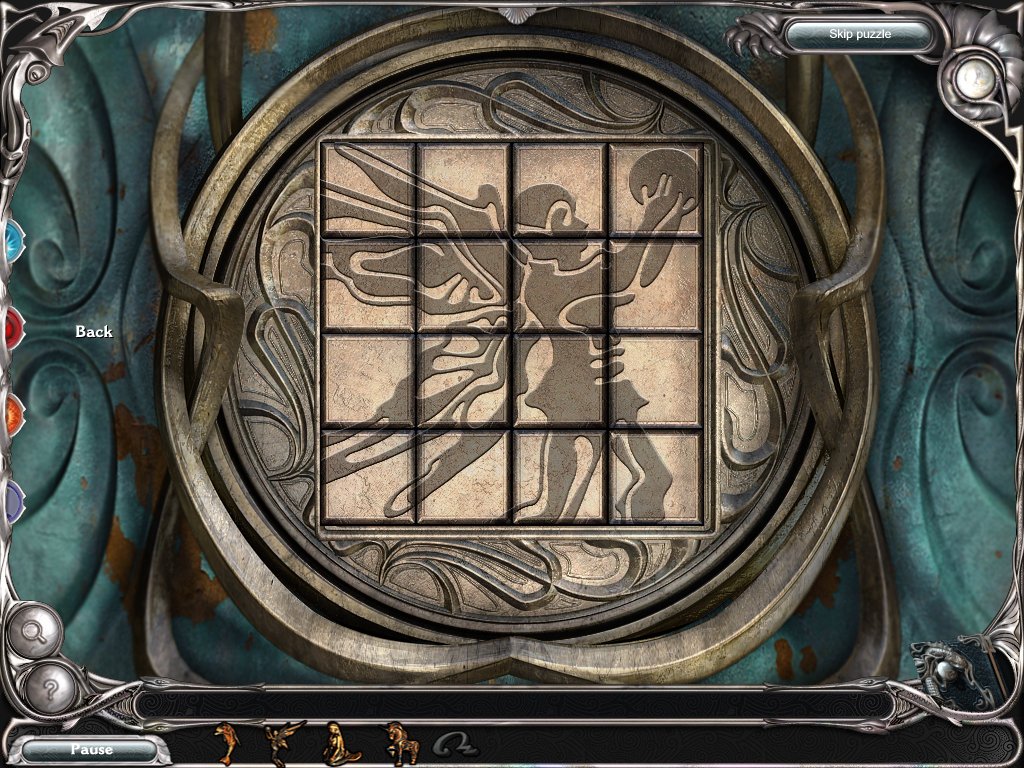
- Book Puzzle
- solve the jigsaw puzzle
- look at the three numbers that appear
- follow each number to its symbol
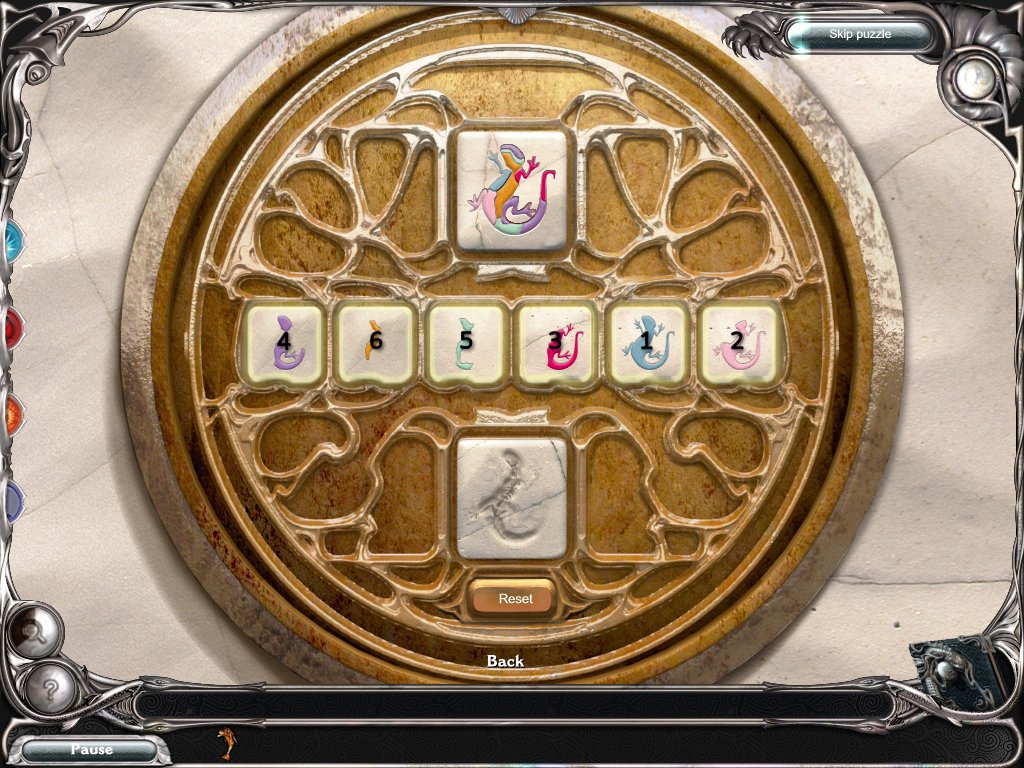
- examine the Chest
- Chest Puzzle
- turn the rings until the symbols from the book are in the holes
- take the Unicorn Figurine
- return to the Airship
Airship
- look at the map
- go to Craters
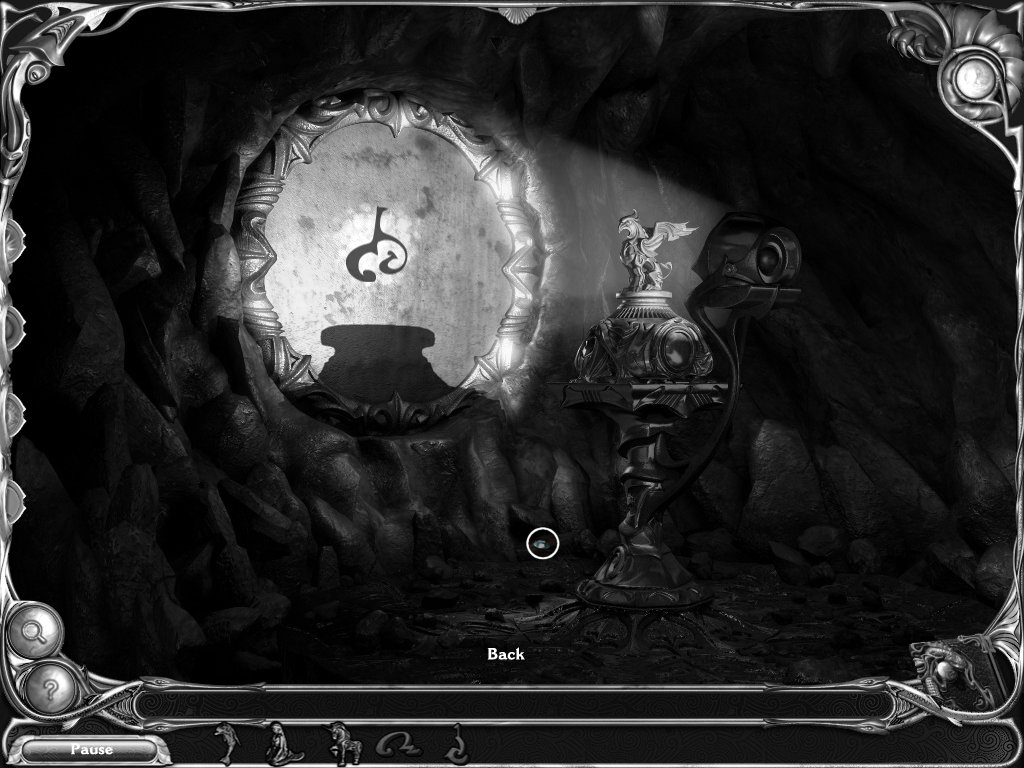
Crater
- use the Dream Jewel of Vision
- enter the left door
- pick up the Dream Piece
- use the Dream Jewel of Reveal
- take the Magic Symbol
- exit
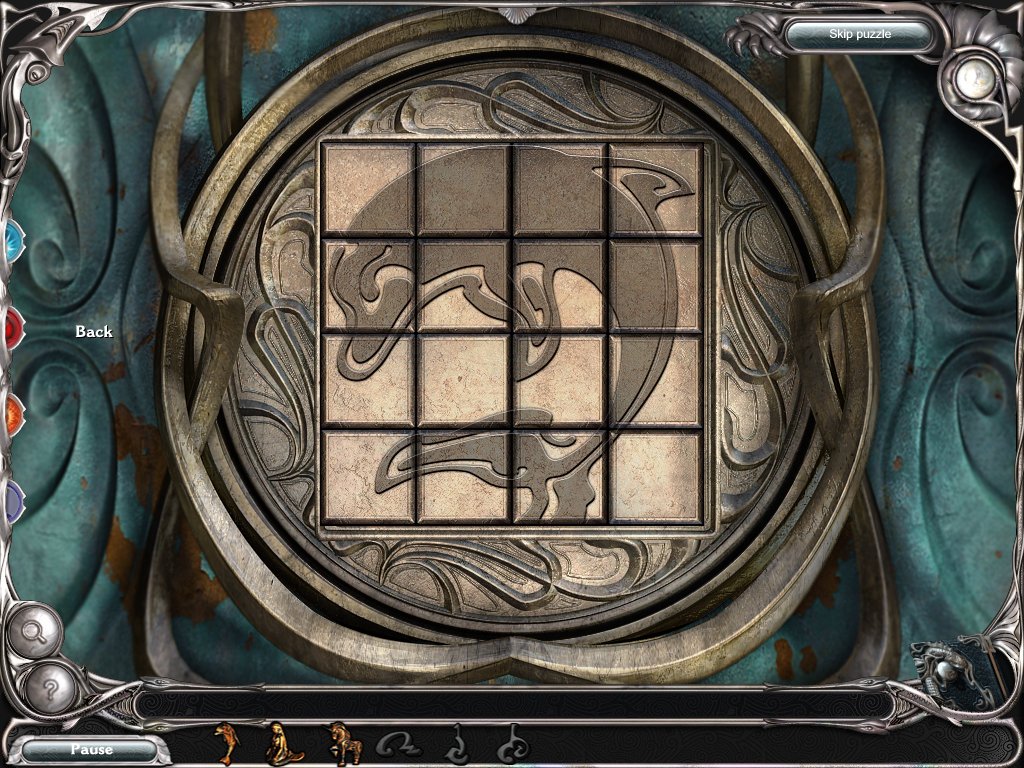
Crater
- examine the second door from the left
- touch the door cover
- Cave Door Puzzle
- rearrange the tiles to create a picture of a fairy
- see screenshot for solution
- enter the cave
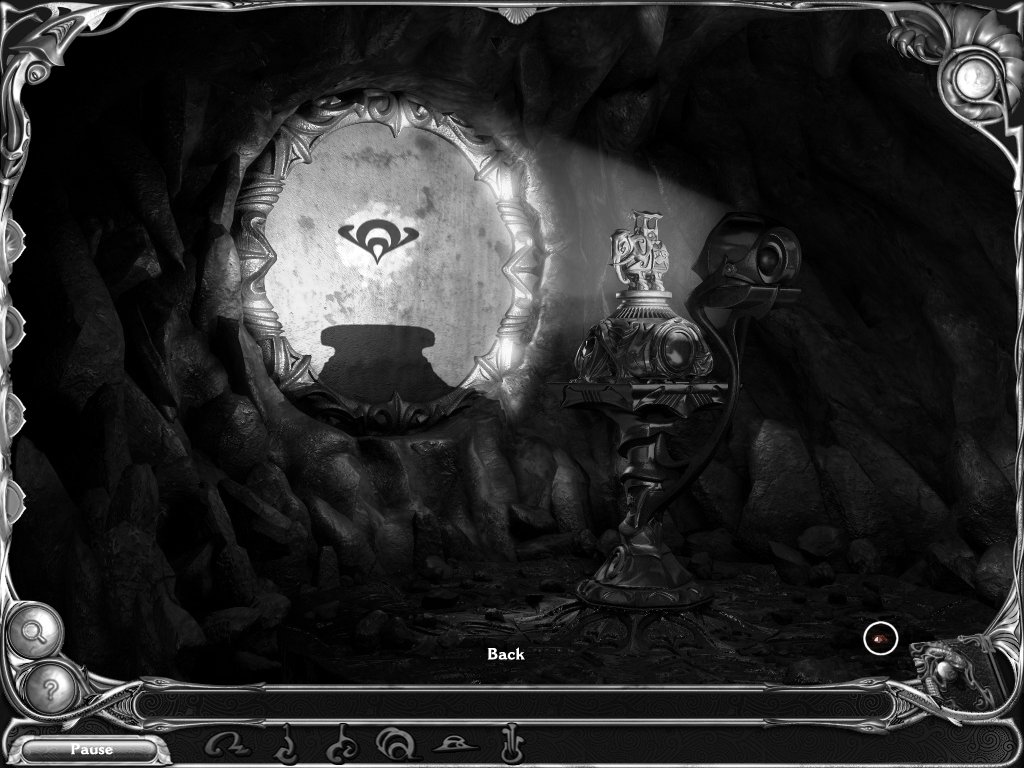
Cave - Fairy
- pick up the Dream Piece
- place the Fairy Figurine on the pedestal
- Fairy Puzzle
- click the button on the meter to the right
- let the blue fill up the meter as far as you want
- click the button again
- the dial will move
- the object is to get that dial to the 12 o'clock position
- this is hit or miss and may take you a few tries
- take the Magic Symbol
- exit
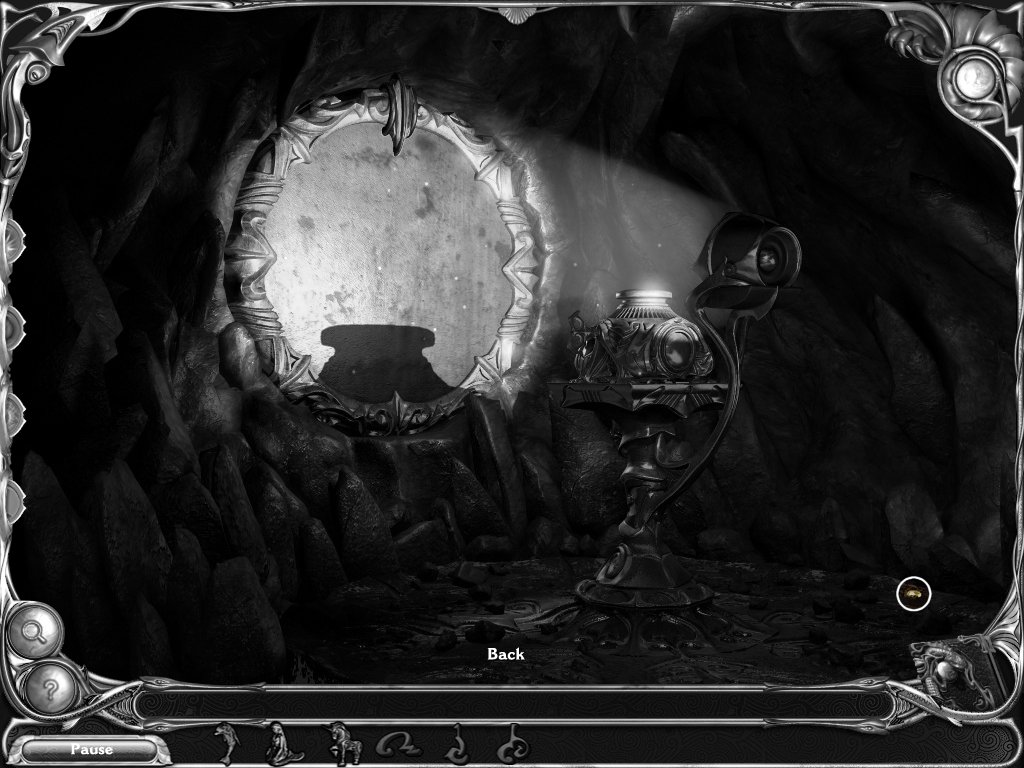
Crater
- enter the third door from the left
- pick up the Dream Piece
- use the Dream Jewel of Reveal
- take the Magic Symbol
- exit
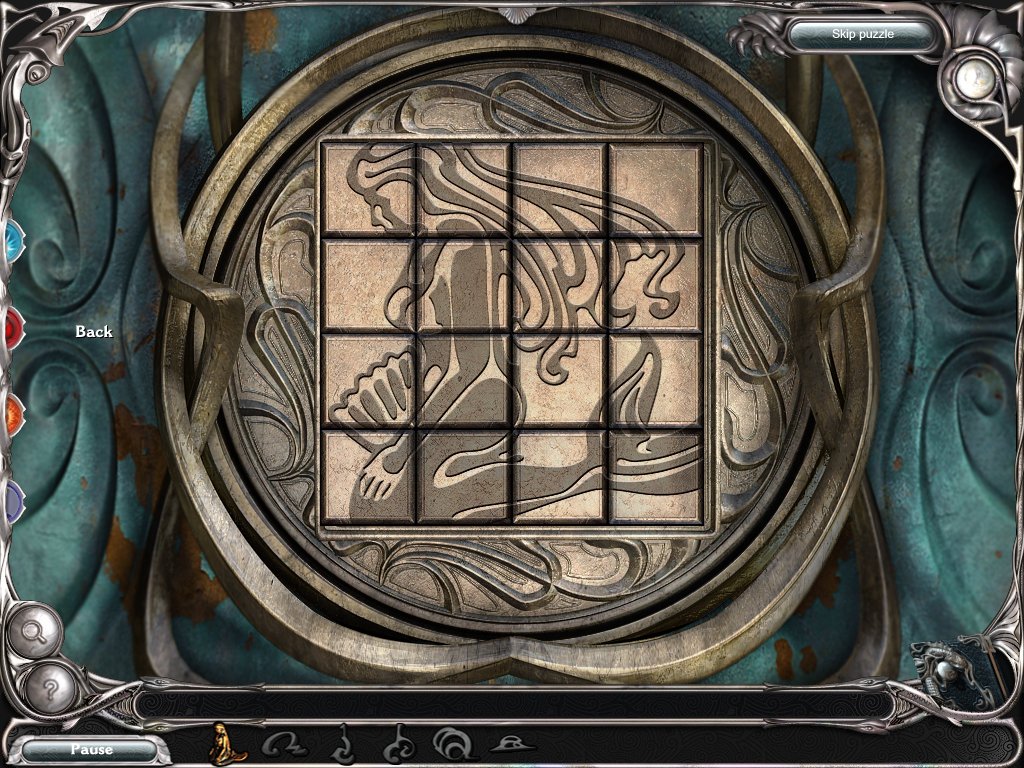
Crater
- examine the middle door
- touch the door cover
- Cave Door Puzzle
- rearrange the tiles to create a picture of a dolphin
- see screenshot for solution
- enter the cave
Cave - Dolphin
- pick up the Dream Piece
- place the Dolphin Figurine on the pedestal
- Dolphin Puzzle
- same instructions as Fairy Puzzle
- take the Magic Symbol
- exit
Crater
- examine the third door from the right
- touch the door cover
- Cave Door Puzzle
- rearrange the tiles to create a picture of a unicorn
- see screenshot for solution
- enter the cave

Cave - Unicorn
- pick up the Dream Piece
- place the Unicorn Figurine on the pedestal
- Dolphin Puzzle
- same instructions as Fairy Puzzle
- take the Magic Symbol
- exit

Crater
- examine the second door from the right
- touch the door cover
- Cave Door Puzzle
- rearrange the tiles to create a picture of a mermaid
- see screenshot for solution
- enter the cave
Cave - Mermaid
- pick up the Dream Piece
- place the Mermaid Figurine on the pedestal
- Dolphin Puzzle
- same instructions as Fairy Puzzle
- take the Magic Symbol
- exit
- enter the right door
- pick up the Dream Piece
- use the Dream Jewel of Reveal
- take the Magic Symbol
- return to Airship
Airship
- look at map
- go to Wish
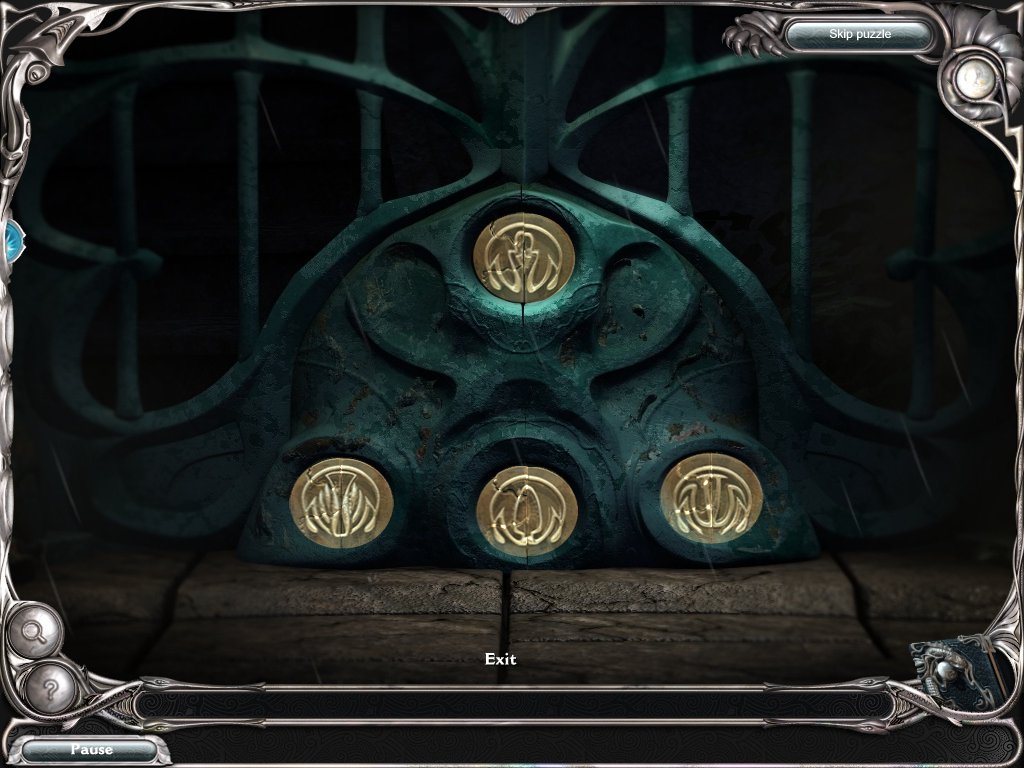
Statue of Lilith
- place all the Magic Symbols on the base of the statue
- watch the cut scene
The End...?